How Downsized Duplicate Photos Impact Your PC?
Downscaled images are compressed from a high resolution to a low resolution. As high resolutions take up more storage space to reduce space consumption their pixels are reduced and quality is lost. Another example of downscaled images is thumbnails, which are often created by different photo apps. Although these duplicate downscaled thumbnails are not a serious issue. However, when they start to pile up, they can lead to the following issues:
- Space Consumption: Duplicate images whether downscaled, edited, or low in resolution consume unnecessary space and eventually lead to a shortage of storage space.
- PC Performance: When you have a lot of files on your PC, it affects your PC's performance and makes it slower. This happens because irrespective of the file size, every file on your PC will be indexed, thus consuming more resources and leading to reduced performance.
- Disorganized Gallery: An image gallery filled with duplicates makes finding the right picture and managing images difficult.
The reasons listed above make the task of deleting duplicate photos imperative. Yet, when confronted with a substantial number of duplicates, the prospect of manual removal can quickly become time-consuming and tedious. That is when you need a downscaled duplicate photo remover and Duplicate Photos Fixer Pro is the perfect solution to this issue.
What Challenges You Can Face While Removing Duplicate Downscaled Images?
Navigating through the process of managing duplicate images presents various challenges:
- The task of selecting duplicate images and distinguishing them from the originals requires precision and attention to detail. It's a meticulous process that demands repeated scrutiny.
- Sifting through a vast collection of images multiple times to identify similarities is undeniably time-consuming, making the overall task quite laborious.
- The need for precision is necessary, especially when subtle differences exist between duplicate and original shots. This level of detail can significantly impact decision-making.
- Simply copying all images to a new folder on your PC for sorting may create more duplicates, considering existing files in the drive
While the list of challenges is extensive, the underlying issue remains the manual nature of the sorting process. What if there was a solution that could overcome these challenges and streamline the entire task with just a few clicks? Enter Duplicate Photos Fixer Pro – the answer to simplified and efficient duplicate photo management. Discover more about this innovative solution in the next section!
How Can You Remove Duplicate Downscaled Images?
Follow the step-by-step instructions to find and eliminate duplicate photographs from a certain folder.
Step 1:Download Duplicate Photos Fixer Pro.
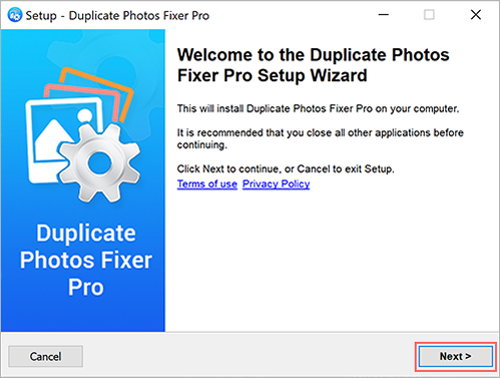
Step 2: Double-click the setup file to start the installation and follow the on-screen directions.
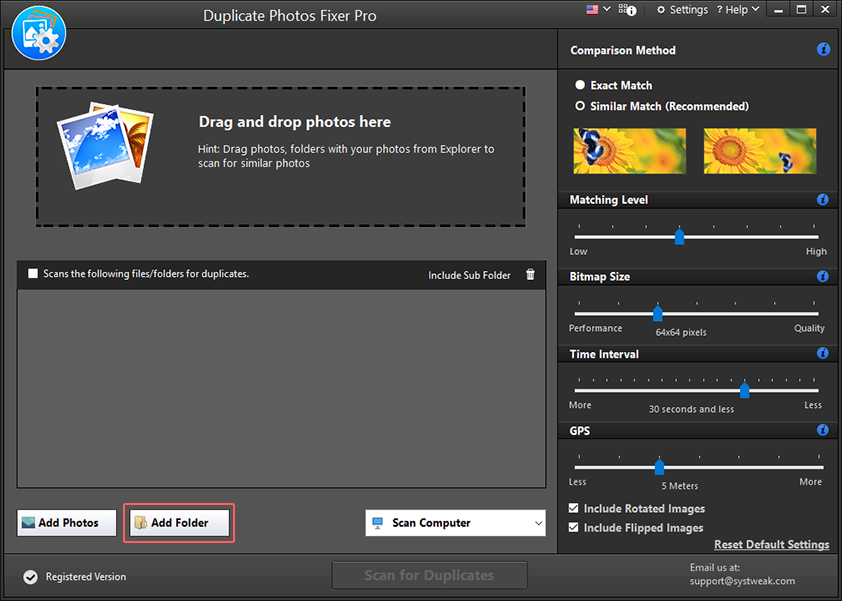
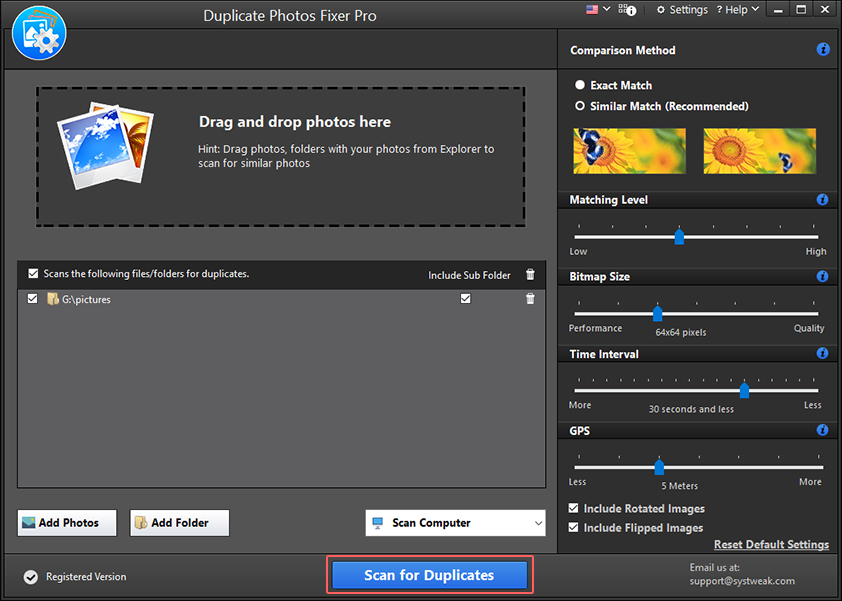
Step 3: If the Downscaled Images are placed in a particular folder, click the "Add Folder" option and navigate through the File Explorer window to select that folder.
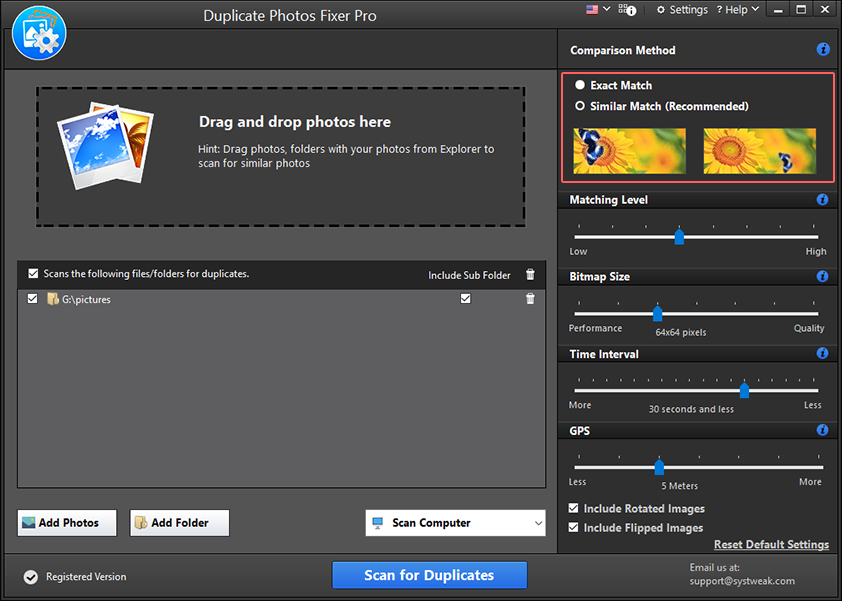
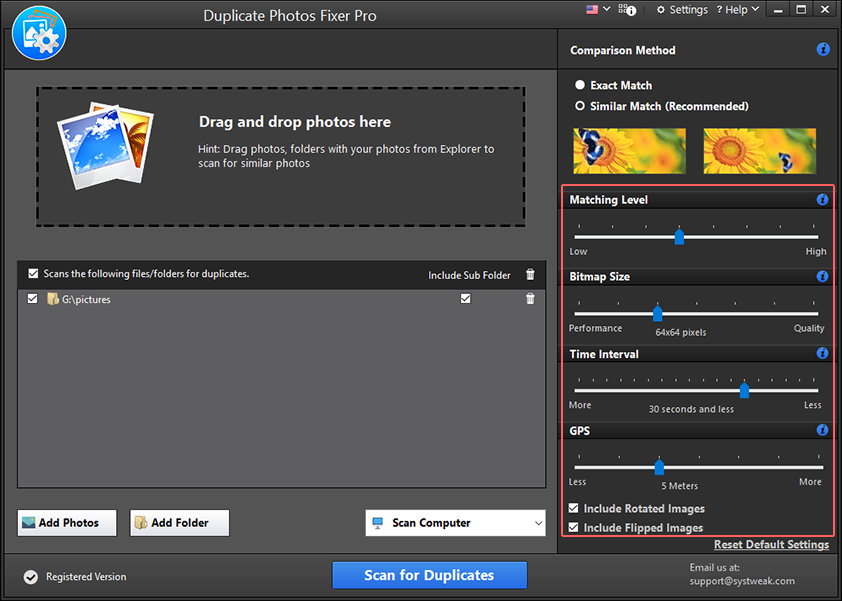
Step 4: After adding the folder, you can choose from the two comparison methods - Exact Match or Similar Match. Select "Similar Match" to customize the duplicate photos search and set the search criteria.
Step 5: After that, for better precision, you can select the box next to "Include flipped images" and "Include rotated images." This will help find duplicates even if the orientation is different.
Step 6: Click the "Scan for Duplicates" button after setting your preferences.
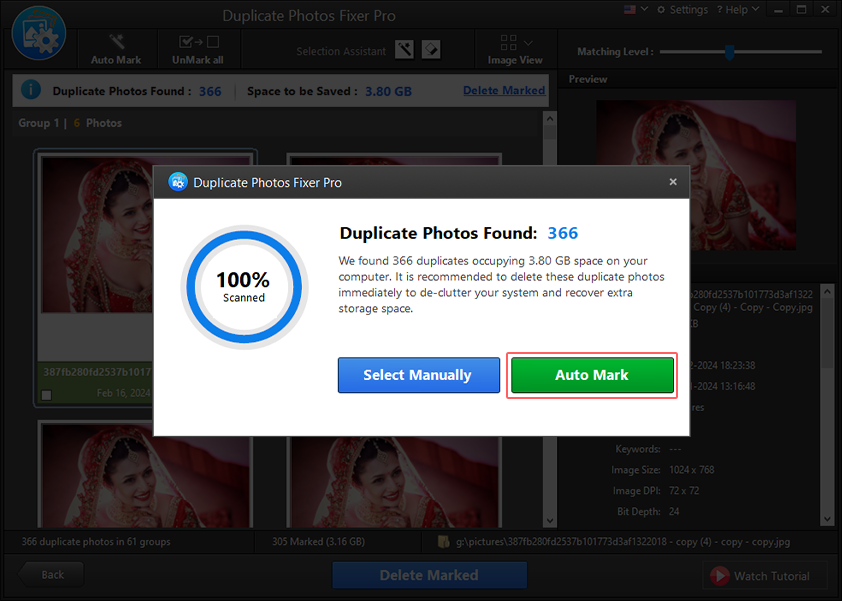
Step 7: Wait for the scan to finish. You will now get a prompt to select duplicates manually or automatically. Since you want to remove downscaled images click the X to view the grouped list of identified duplicates. Preview the scan results.
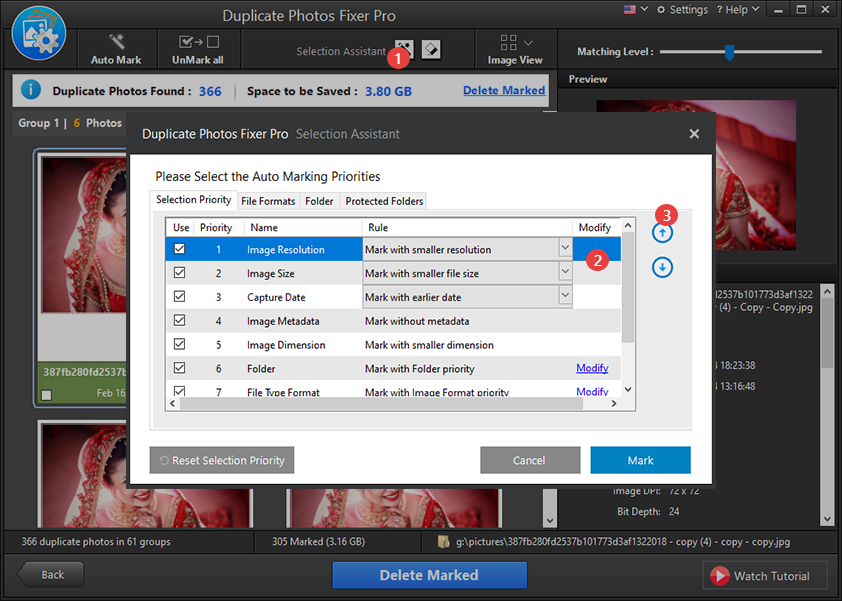
Step 8: Next, set the auto-selection criteria by clicking the wand icon next to Selection Assistant. Since you want to remove downscaled images, select the Image Size option > select Mark with smaller file size and bring it to the top by clicking the up-arrow key. This way, when you use the Auto Mark option, images with smaller file size will be automatically selected.
Step 9: Once the priority is changed, click Mark and wait for the process to complete. This way the downscaled images leaving one copy unmarked in each group will be automatically selected.
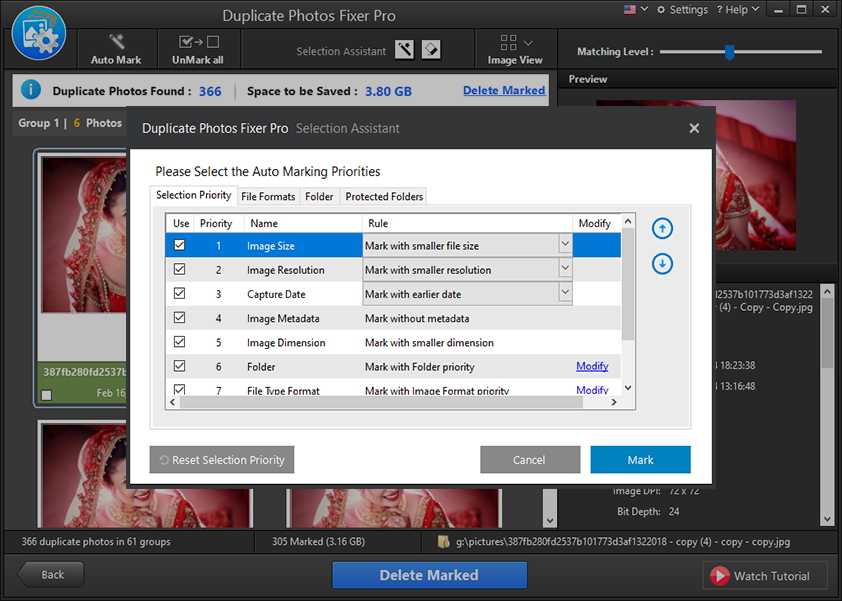
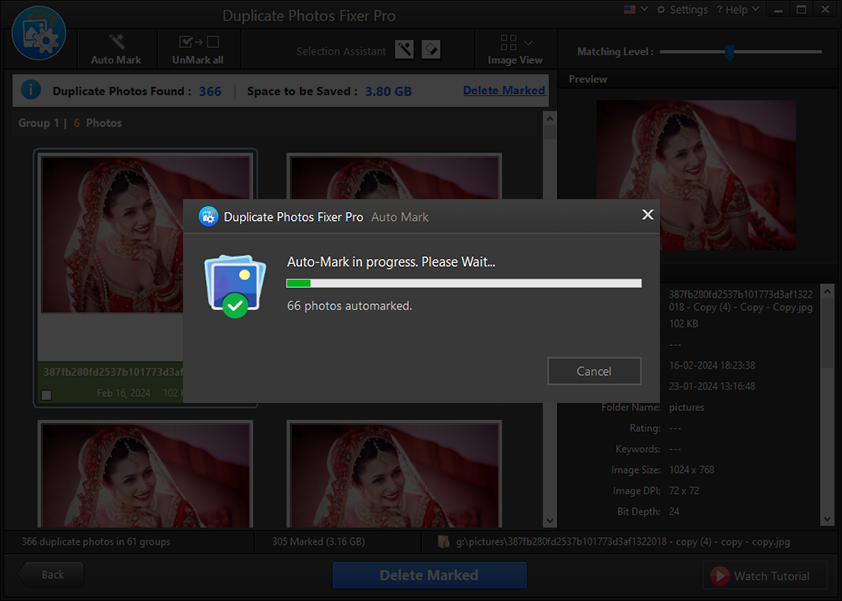
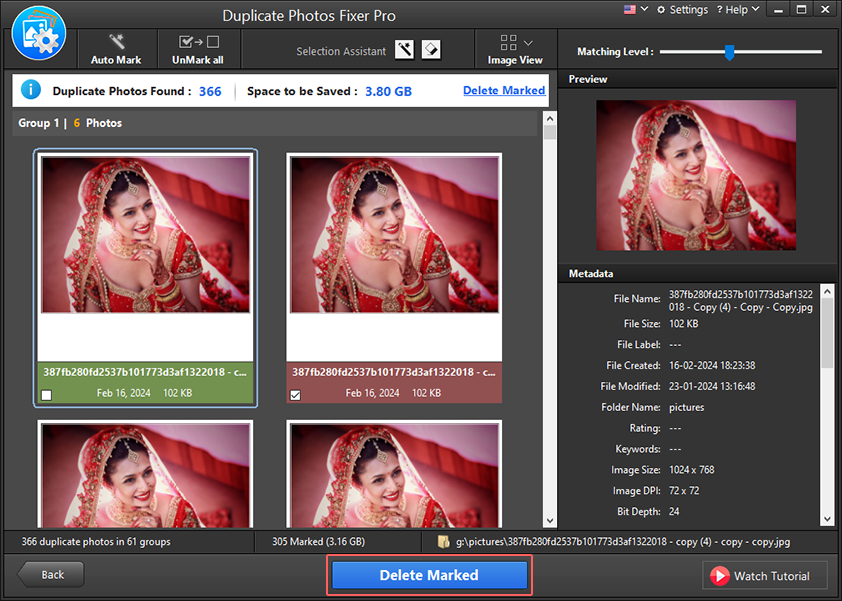
Step 10: Once the duplicate images with smaller file sizes are marked, click Delete Marked to remove the duplicates.
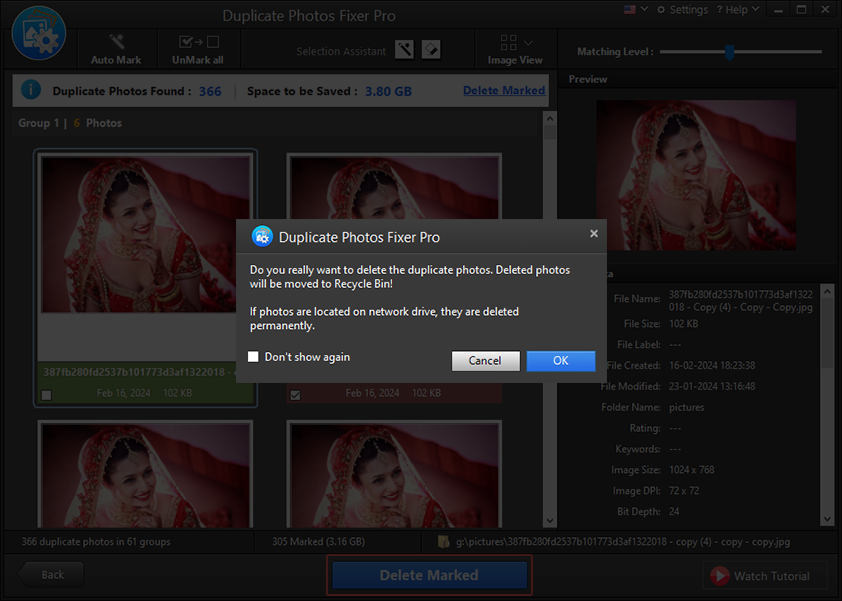
Step 11: Click OK to proceed and move deleted duplicates to the Recycle Bin.
Step 12: You will now get a window where you can see the number of photos marked for removal and deleted photos.
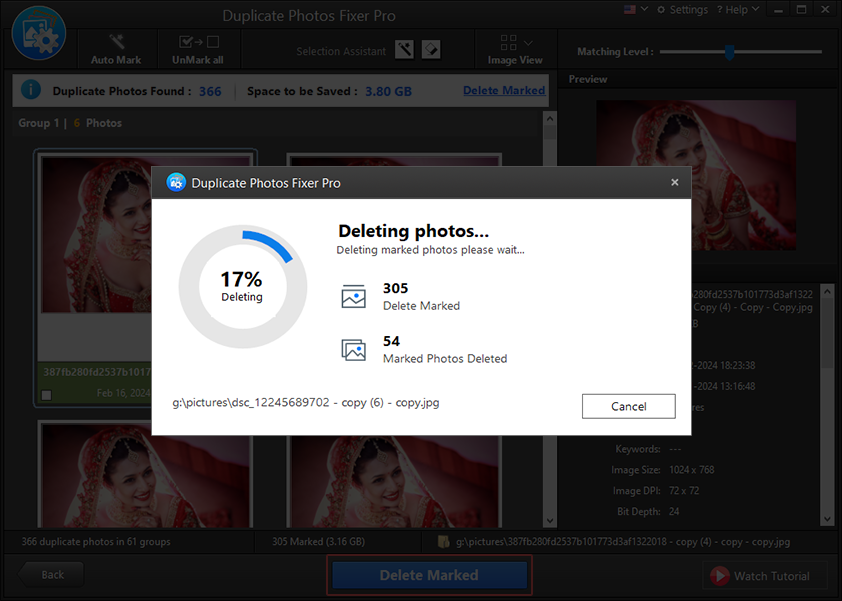
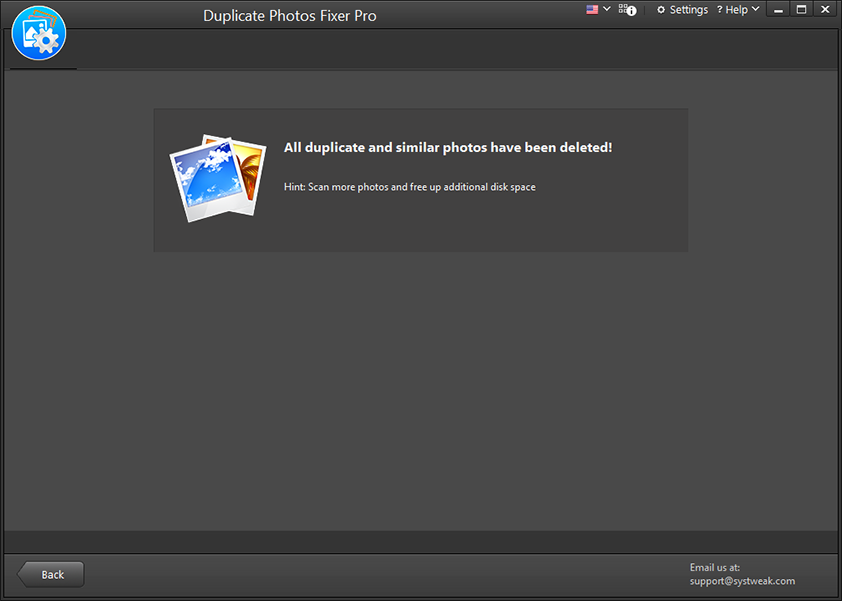
Duplicate Photos Fixer Pro will quickly remove the chosen duplicate images from your computer, freeing up a significant amount of storage space and improving the efficiency of your hard drive. The software is easy to use and offers a user-friendly experience with extra privacy and security.
