How To Identify And Organize Duplicate Images With Different Resolutions
Windows PCs often serve as a repository for photos gathered from different sources such as digital cameras, smartphones, those downloaded from social media platforms, etc. Hence, often, the need arises to organize duplicate photos with different resolutions.
Organizing and deleting duplicate photos can be a daunting task. Rushing through this process, especially, when you are short on time, can lead to accidental deletion of important images. You should, therefore, move with caution and take the help of a duplicate photo finder tool.
Duplicate Photos Fixer Pro can delete duplicates even with different resolutions effortlessly. It supports all types of drives connected to a computer. Its smart and robust algorithm ensures that duplicate photos are identified based on their file content.
Duplicate Photos Fixer Pro - The Easiest Way to Find & Delete Duplicate Photos on External Drive
When finding duplicates that have different resolutions, you might want to mark photos for deletion based on their size. In this context, Duplicate Photos Fixer Pro makes the task of cleaning up duplicate photos easy. You can change the Auto Marking priorities and choose
Notable features of Duplicate Photos Fixer Pro -
- Identify exact or similar duplicate images.
- Functionality to drag and drop photos and folders.
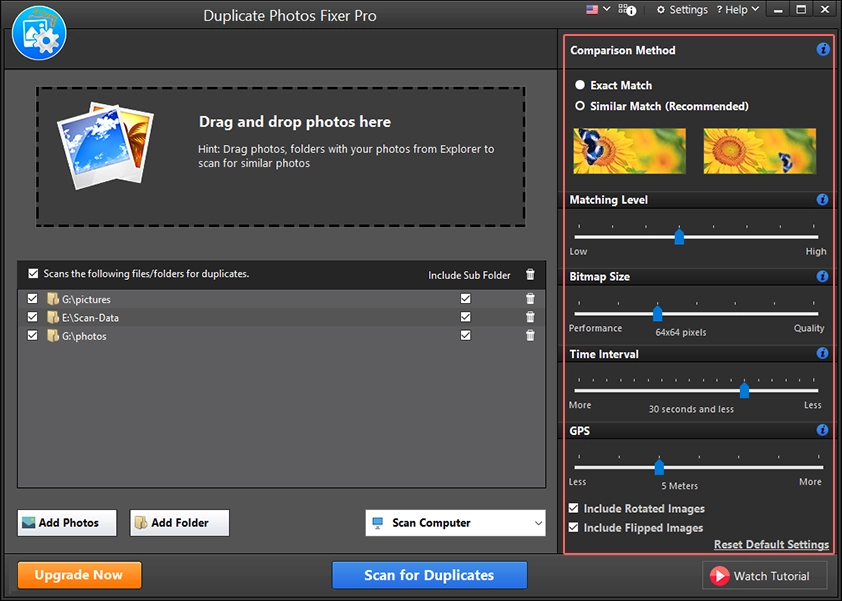
- When dealing with similar matches, you can narrow down searches based on matching levels, bitmap size, time interval, and GPS.
Note: When looking for duplicates that have different resolutions you can slide the Bitmap Size slider towards quality in order to get highly accurate results.
- Identify duplicate photos even if they have been flipped or rotated.
- Scan all kinds of internal and external drives for duplicate photos.
- You can also scan Dropbox for duplicates.
- Detects duplicates from Picasa and Lightroom Classic.
Steps to find and clean duplicate photos with different resolutions -
Step 1: Download Duplicate Photos Fixer Pro from the download button below.
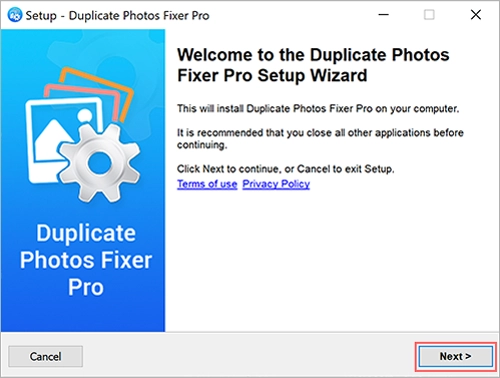
Step 2: After downloading the setup file, double-click on it and run the installation. Follow the on-screen instructions that appear next.
Step 3: Launch Duplicate Photos Fixer Pro and add photos or folders containing pictures you wish to scan to detect photographs for different resolutions. To do that, you can either drag and drop photos or folders in the area shown in the screenshot below or click on the Add Photos or Add Folder button that you can see at the bottom left.
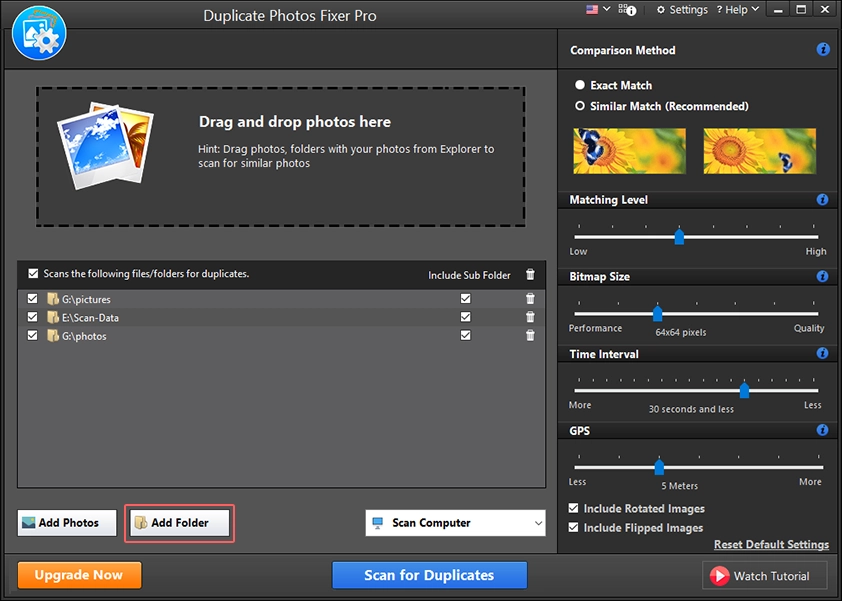
Ensure you upgrade Duplicate Photos Fixer Pro to the Pro version, as the trial version has limited functionality. By upgrading to the pro version, you can remove all duplicate photos at once.
Step 4: Next, from the right panel of the interface, choose between the two comparison methods - Exact Match or Similar Match.
Exact Match: Choose this method to find exact copies of photos.
Similar Match (Recommended): Choose this to identify almost identical photos that may have undergone certain modifications.
To further narrow your search for duplicate photos under such circumstances, you can set the bar for Matching Level, Bitmap Size, Time Interval, and GPS. You can, especially, push the Bitmap Size slider towards Quality to get highly accurate results when finding duplicate photos with different resolutions.
You can even include rotated and flipped images to find pictures with changed orientation.
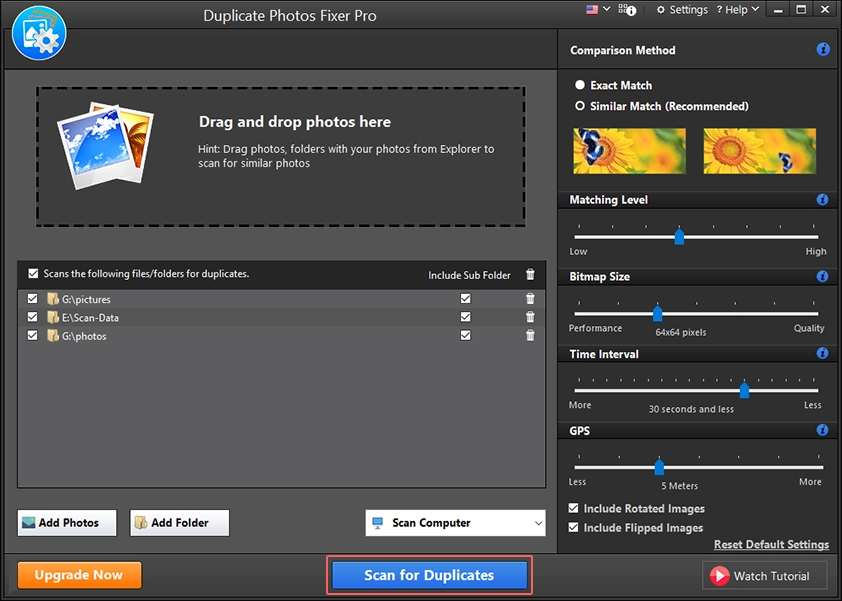
Step 5: Click the Scan for Duplicates button at the bottom. This will initialize the scan and search for duplicate photos.
Note - To find RAW images, follow the on-screen instructions when the pop-up appears to download additional packages on your computer.
Step 6: You will now be prompted to select manually or automatically. Since you want to select duplicates with different resolutions close the window or click Select Manually.
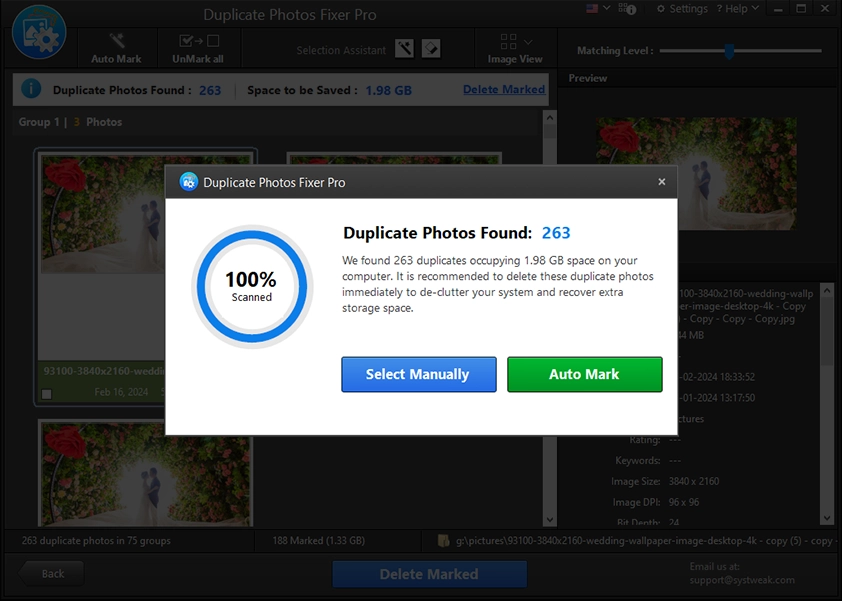
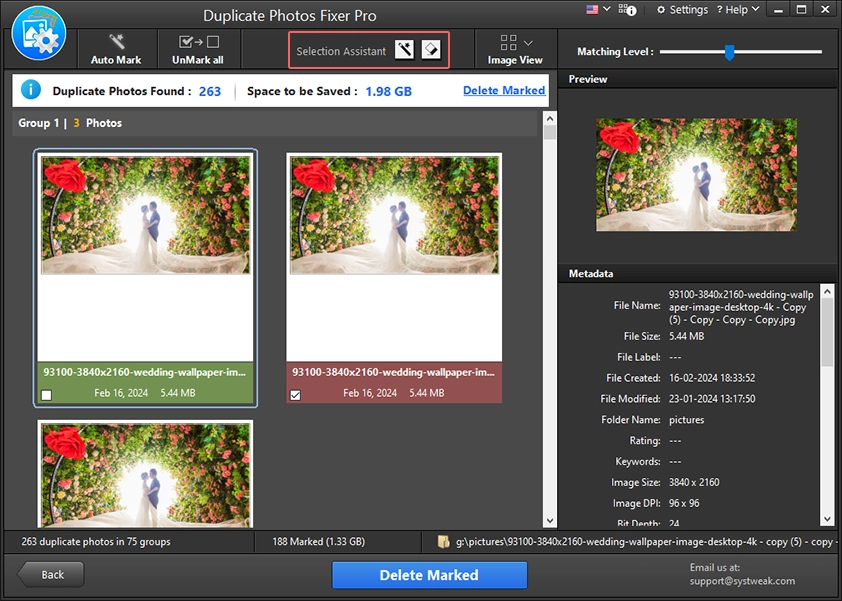
Step 7: Next, head to the top of the interface and click on the wand icon next to the Selection Assistant. This will open Auto Marking Priorities.
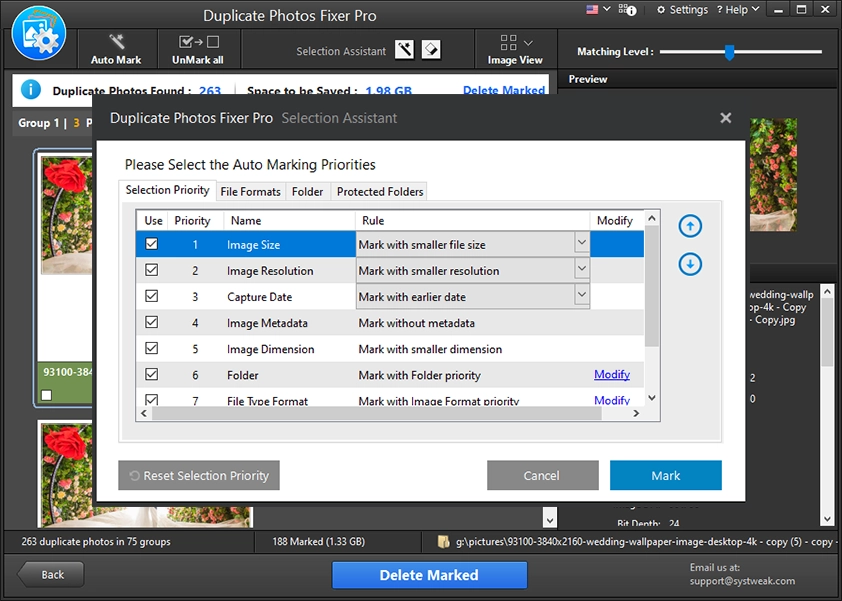
Step 8: Click the down arrow next to Image Resolution and set the selection to mark images with smaller or higher resolutions. Once preferences are set make sure the Image Resolution has top priority. If not using the up-arrow key change the priority and click the Mark button that you can see at the bottom right.
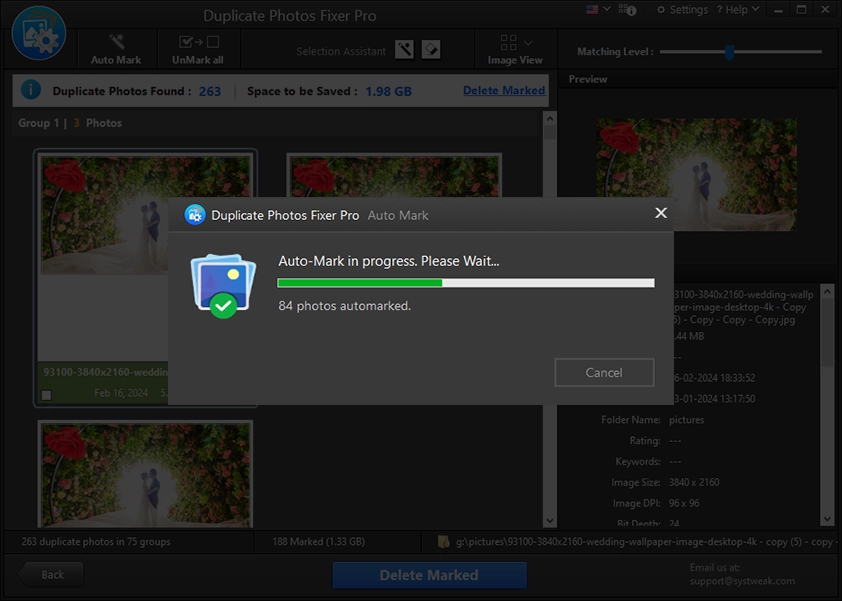
Step 9: Wait for the selection to complete.
Step 10: Once the duplicate photos are auto-marked and you are sure you want to remove them, click the Delete Marked button.
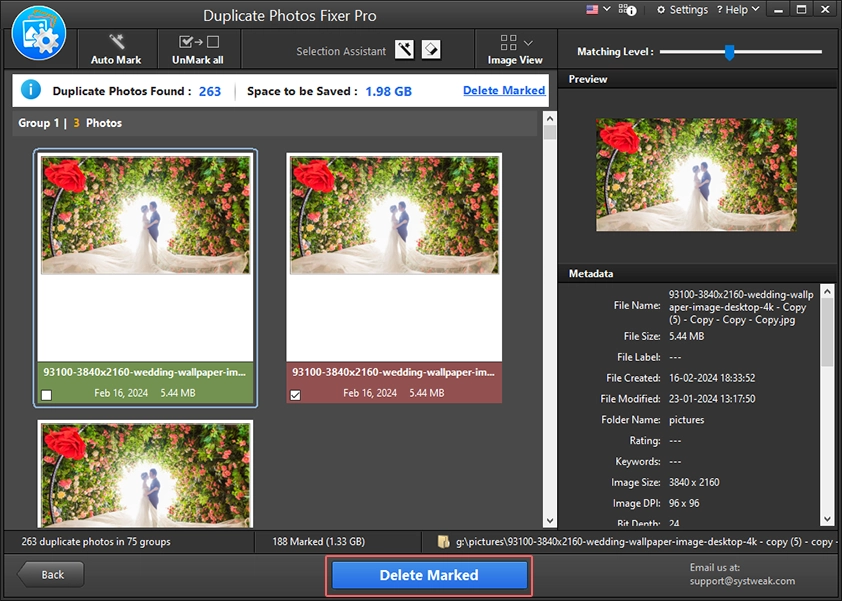
Step 11: You will now get a window where you can see the number of photos marked for removal and deleted photos.
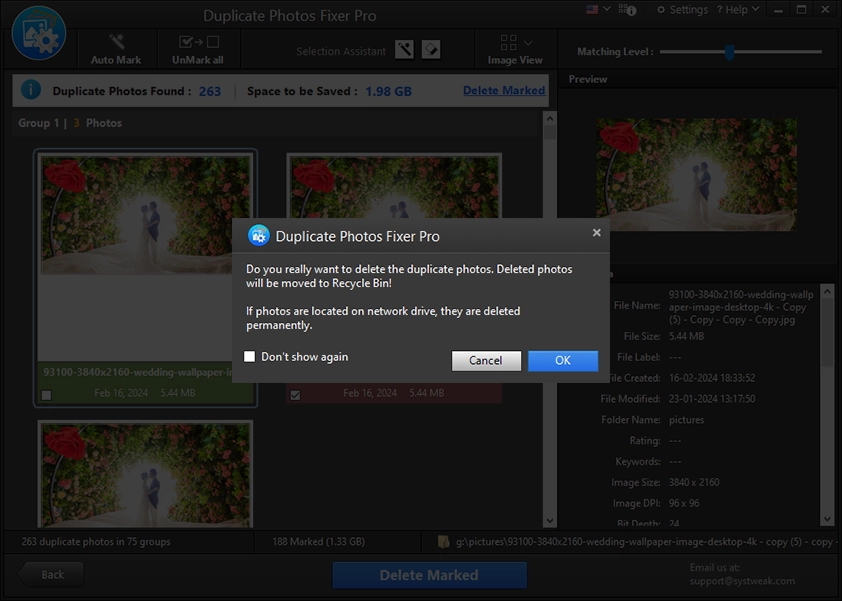
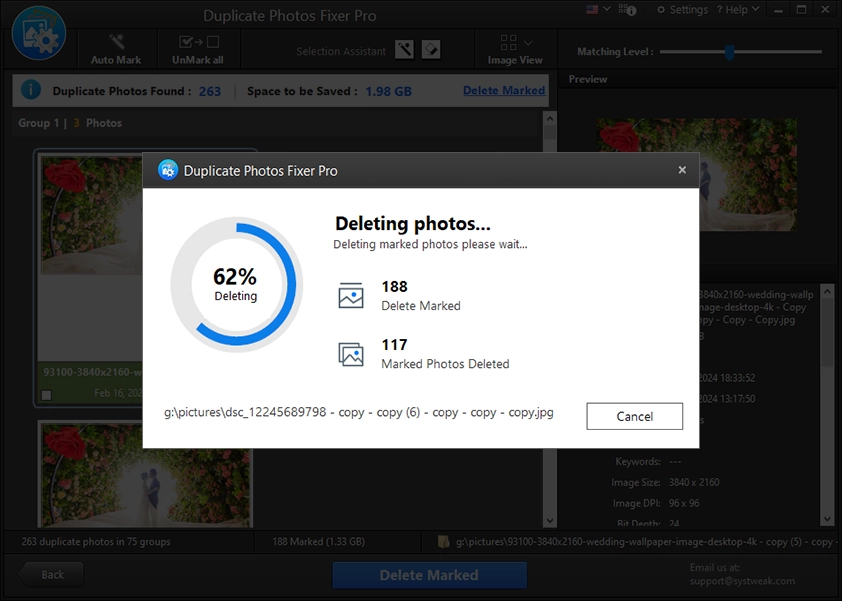
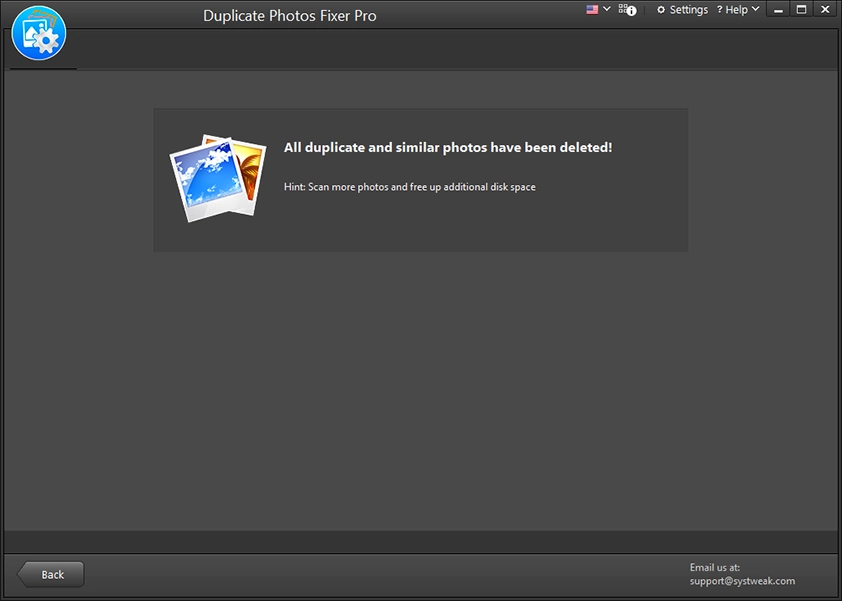
Duplicate Photos Fixer Pro will immediately remove selected duplicate photos with different resolutions from your computer.
