Home / User Guide / Removing Duplicate Images from Google Drive
Removing Duplicate Images from Google Drive
To use Duplicate Photos Fixer and scan Google Drive, follow these steps:
Step 1: Launch the Duplicate Photos Fixer Pro > click the down arrow and select Scan Google Drive option.

Step 2: Grant access permission and login to your Google Account.
Step 3: Next, click Continue to move ahead.
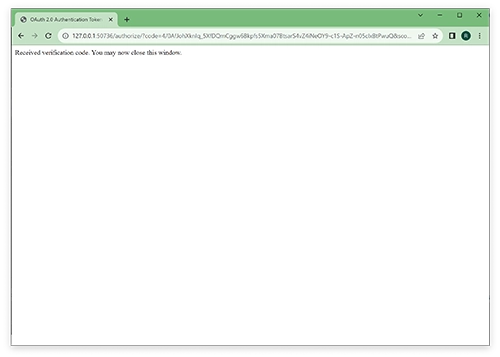
Step 4: You will get a message: "Received verification code. You may now close this window".
Step 5: Duplicate Photos Fixer Pro will now show a list of folders saved on Google Drive.

Step 6: Select the one you wish to scan and click OK.

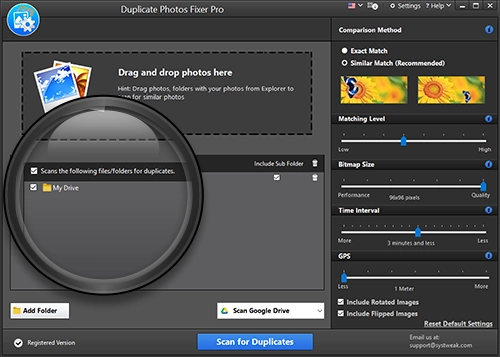
Step 7: Once the folder is added, you will see it on the welcome screen as in the screenshot below:
Step 8: To start the scanning, click Scan for Duplicates and wait for the tool to add photos.
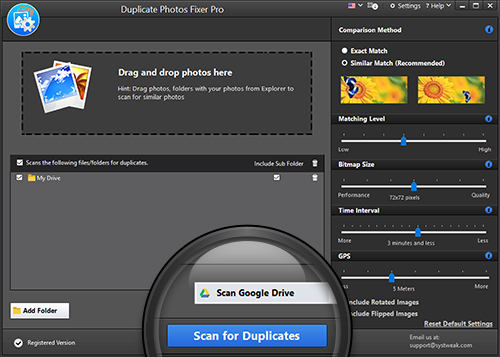
Step 9: Next, the tool will search for duplicates in the selected folder.

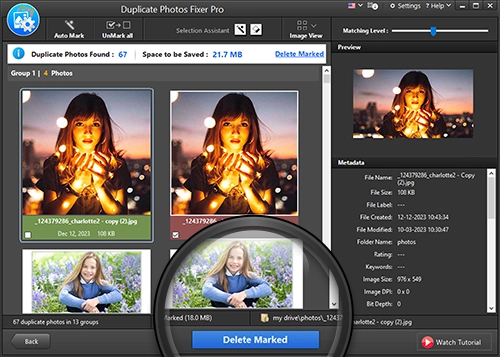
Step 10: When done, you will see a list of scan results.

Step 11: Scroll through the list and select the duplicates. You can use the Auto Mark feature if the number of duplicates is more. It will automatically mark duplicates, leaving one in each group unmarked.
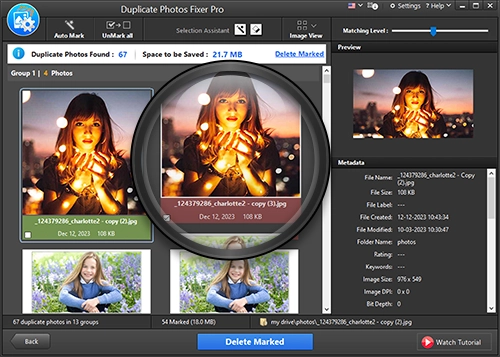
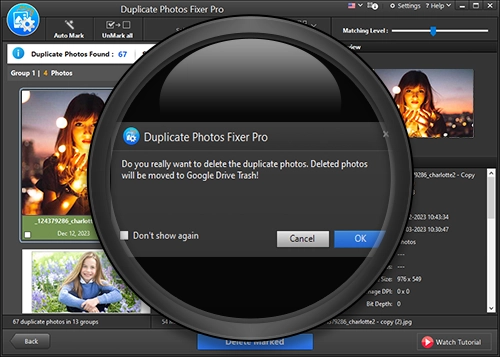
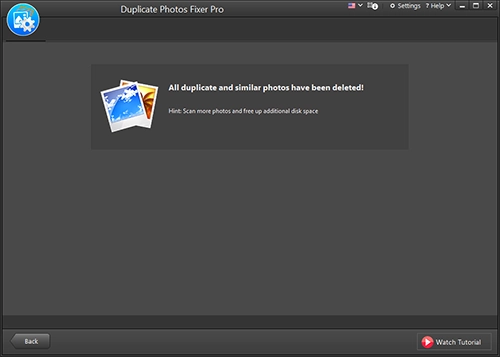
Step 12: After selecting duplicate, click Delete Marked. This will remove all selected duplicates from Google Drive, and you can recover space.
