Home / User Guide / Removing Duplicate Images from PC
Removing Duplicate Images from PC
To use the Duplicate Fixer Pro, follow the steps explained below:
Step 1: Launch Duplicate Photos Fixer Pro.
Step 2: Select Scan Computer.
Step 3: Drag and drop photos to scan or click Add Photos/ Add Folder.
Step 4: Choose from the comparison mode - Exact match and Similar match.
Step 5: Set the similarity scan settings.
Step 6: After that, click the "Scan for Duplicates" button.
Step 7: Wait for the process to finish.
Note: Depending on the number of photos, the process will take time as the application will first load the photos > then compare them and display the duplicates.

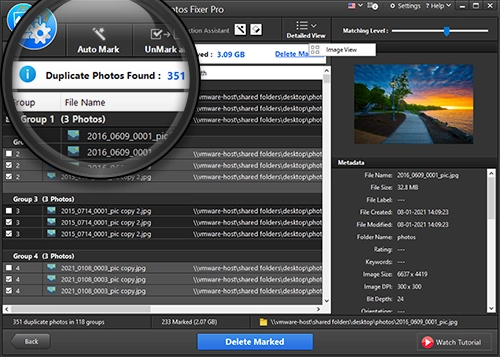
Step 8: Once done, you will get a window with scan results. Using the Selection Assistant, you can set Auto Mark settings. If you want to use default settings and automatically mark duplicates, click the "Auto Mark" option.
Note: If you click Delete Marked without selecting duplicates to be cleaned, you will be prompted to select at least one. For assistance, you even get the Show Quick Guide option.

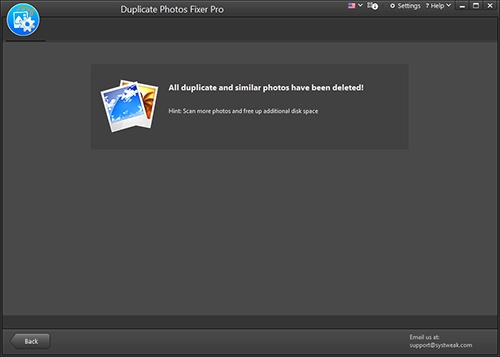
Step 9: Finally, click the Delete Marked button to delete the images.
Note: By default, selected duplicates are moved to the Recycle Bin. If you want to change this setting, you can go to product settings.
If photos are located on the network drive, they will be deleted permanently.

This way, you can easily remove duplicate images from Windows.

